Prehistoric Farm Map Guide: Exploring Islands and Fossil Sites
Master the Prehistoric Farm map on Roblox with our guide to navigating islands, digging for fossils, and unlocking new exploration zones.
Published: Prehistoric Farm Wiki Editorial Team
Table of Contents
Navigating the Prehistoric Farm Map
The world of Prehistoric Farm, developed by Project Mirvy, is structured around a progression-based map system. Players start on a home island and must systematically unlock new territories by gathering specific materials and upgrading their equipment. Understanding the layout of these islands is essential for efficient farming and progression.
According to community gameplay observations, the map consists of five distinct islands. Movement between these locations is facilitated by boats, which you can purchase as you progress. While the starter island focuses on basic digging and introduction to the gameplay loop, later islands introduce more advanced materials and different types of creatures. Navigating these waters requires choosing the right boat size, as smaller vessels may limit your ability to reach distant fossil-rich zones.
Mastering the Digging Mechanics
Digging is the foundation of your progress in Prehistoric Farm. To maximize your efficiency, you must pay attention to the timing mechanic when using your shovel on a dig site. Community reports emphasize that holding your shovel and releasing it precisely when the meter hits the "GREEN" zone results in higher-quality finds.
Tip
Timing is Key: Always aim for the green segment on the digging UI. Missing this window often leads to common-tier fossils, whereas hitting the green zone increases the likelihood of rare or epic discoveries.
Upgrade Your Tools: As you accumulate wealth and rare materials, prioritize upgrading your shovel. Higher-tier shovels allow you to mine in more advanced zones that are otherwise inaccessible with starter gear.
The DNA Lab and Fossil Sets
Once you have collected a full set of fossils, your next destination is Dr. Ivy’s DNA Lab. This facility is the central hub for turning your hard-earned fossils into life. It is important to note that the lab creates the egg, which must then be moved to an incubator to hatch.
Collect: Gather a full set of fossils from the designated dig sites on your current island.
Process: Visit Dr. Ivy’s DNA Lab to exchange the complete set for a dinosaur egg.
Incubate: Place the egg in an incubator and wait for the hatching process to complete.
Nurture: Once hatched, feed your dinosaur frequently to ensure its belly stays over half full, allowing it to grow from a Newborn to an Elder.
Ocean Exploration and the Sunken Grotto
For players looking to venture beyond the islands, the ocean offers unique challenges and rewards. The Sunken Grotto is a high-stakes area where players can sneak in to steal rare sea reptile eggs. This requires caution and proper preparation, as the area is often guarded or dangerous.
One of the most notable features in the ocean is the Mosasaurus hunt. Players can team up to engage this boss, using spears to deal damage. Community members note that hitting the boss in the head provides a significant damage bonus compared to body shots. If you are participating in these hunts, ensure your boat is in good condition, as boss attacks can damage your vessel during the encounter.
Progression and Evolution
The evolution of your dinosaurs is tied directly to their growth stages. A common mistake among new players is neglecting the hunger meter. Keeping the belly over half full is not just a suggestion; it is the official requirement for your dinosaur to transition through its growth stages.
Once your dinosaur reaches the Elder stage, you can ride it. This is a game-changer for navigation, as some rideable creatures can traverse water, effectively rendering the need for boats obsolete for certain travel routes. Always check your "Planner" UI to dismiss or summon your active companion, ensuring you have the right dinosaur for your current task.
Can I use codes to speed up my progress?
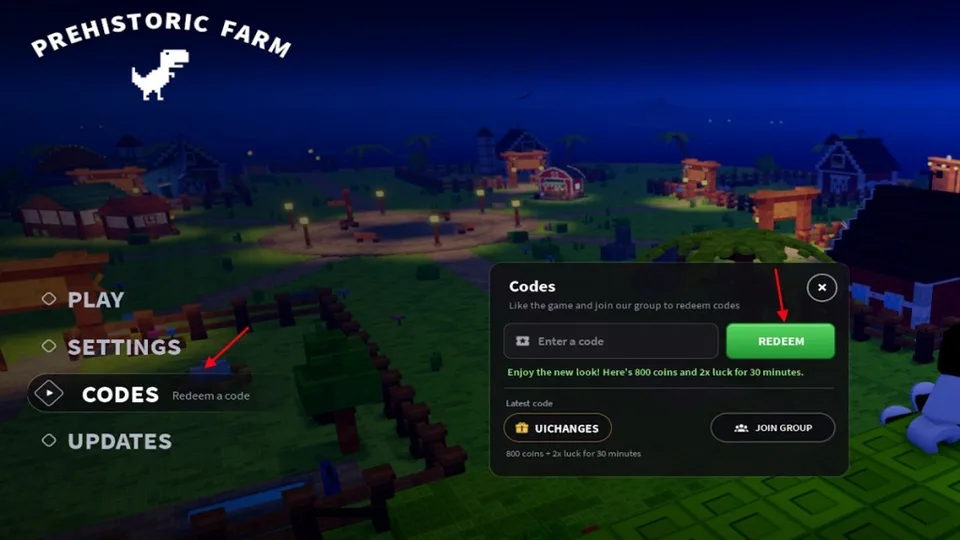
While codes like NESSIEISHERE and UPDATE05 have been circulated in community recaps, their status can be volatile. Always check your in-game HUD to see if a code is accepted before relying on its rewards.
Do I need to join the Project Mirvy group?
Some community guides suggest that joining the official Project Mirvy Roblox group is a prerequisite for redeeming codes. If you find that a code is being rejected, joining the group is the recommended first step before attempting to redeem it again.
Is the Mosasaurus fight difficult?
The Mosasaurus is a boss encounter. While it can be tackled solo, teaming up with other players makes the fight significantly faster. Focus on headshots to maximize your damage output and speed up the encounter.